Steaming milk is an essential skill for coffee enthusiasts looking to elevate their home espresso experience. Whether you're aiming to create a velvety latte or a frothy cappuccino, understanding the basics of steaming milk is crucial. In this guide, we'll explore the step-by-step process to achieve perfectly steamed milk using an espresso machine. We’ll also go over some best tips for alternative milks too!
The type of milk you choose can significantly impact the steaming process and the taste of your final beverage. Whole milk is a popular choice due to its higher fat content, resulting in a creamier texture. However, alternatives like almond, soy, or oat milk can also be used, each imparting its unique flavour profile. As a general rule, dairy and alternatives should be steamed the same way. Some alternative milks will become frothier naturally and so need less texturing. Soy is the quintessential example of this.
Preparing your espresso machine:
Before you start steaming, ensure that your espresso machine is clean and properly heated.
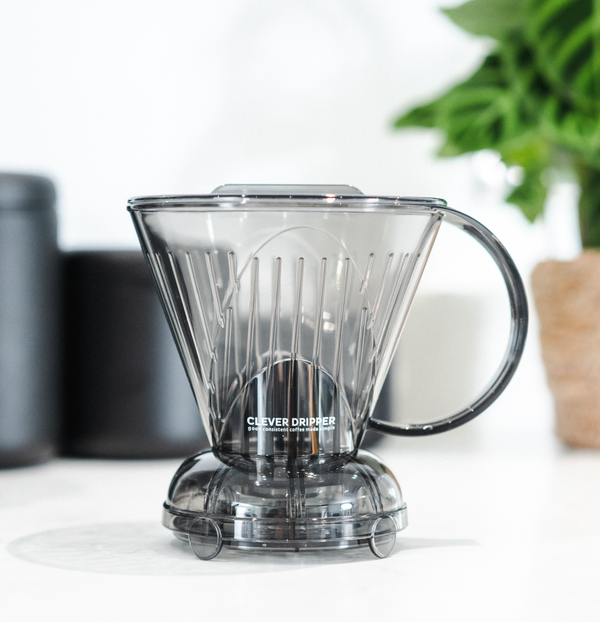
Choosing the right jug:
Select a stainless steel milk jug that is the right size for the amount of milk you plan to steam. Milk jugs are designed to be filled to the base of the spout and some will even have a marker or indentation to indicate where to fill the jug to. This is really important as it will ensure that you don’t under or overfill your jug. If you underfill your jug, your milk won’t spin properly in the jug, and you’ll likely create large bubbles. If you overfill your jug again, the milk won’t spin properly and it could spill over the top of the jug and make a mess.
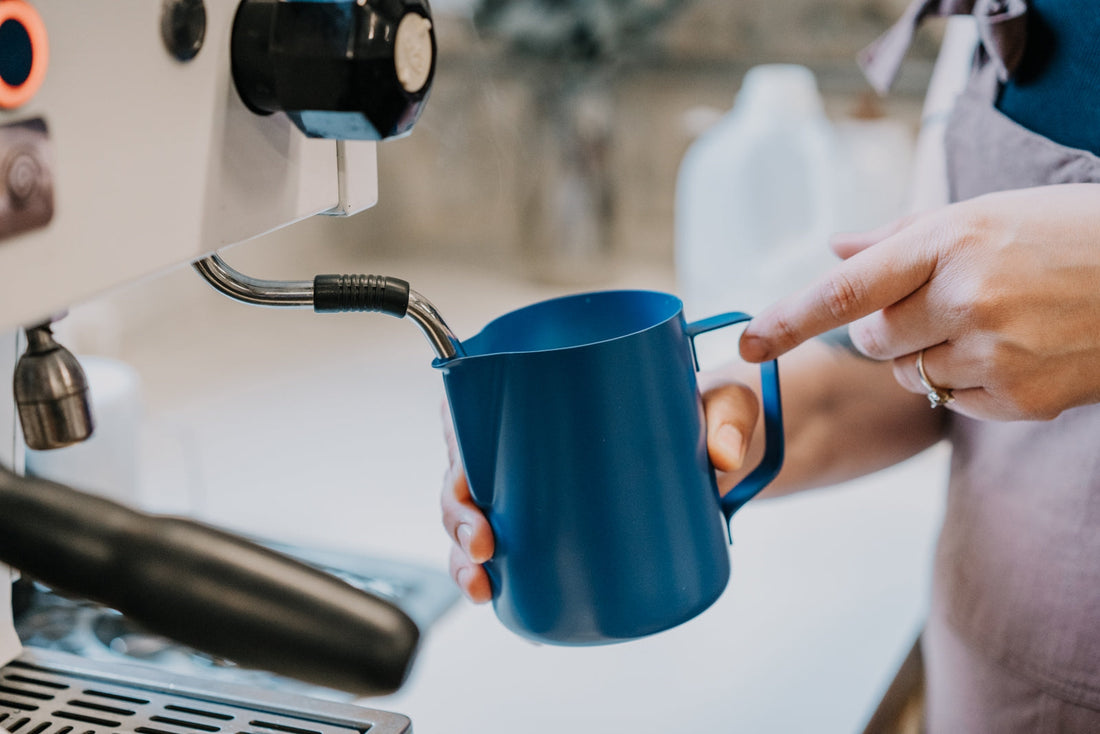
Purge the steam wand:
Point the steam wand into the drip tray and turn it on for a few seconds ensuring any water that may be trapped in the wand is expelled.
Positioning the steam wand:
Position the milk jug so the steam wand is resting against the spout of the jug. We want this wand-to-jug contact the entire time we are steaming. Submerge the steam wand into the milk, ensuring the tip is just below the surface. The tip of the steam wand needs to be at an angle. This angle is created by keeping the wand in contact with the milk jug spout and having the tip halfway between the outside wall and centre of the jug. This angle can be in either direction, so left or right, based on your personal preference.
Texturing the Milk:
Turn on the steam wand to start introducing air into your milk. In order to create more foam, lower the pitcher very gradually as you steam, keeping the wand near the surface to create microfoam. When you hear a crackling sound, similar to paper crinkling or even tearing, this means you are creating foam. On smaller home machines, you will hear more of a ‘tearing’ than ‘crackling’. Smaller machines will also steam more slowly but can create milk just the same as a professional one. If you raise the jug slightly, until you are hearing almost no sound, this is the point where you are only heating the milk and not creating more foam. While heating we want to make sure the milk is still spinning. Again, the milk spinning is created by the angle of our wand - do not swirl the jug! Moving the milk jug up and down whilst steaming is a really small movement and the easiest way to control it is to keep good contact between the wand and milk jug spout. For thicker milk i.e. a cappuccino, we need a few extra seconds of the tearing/crackling sound. This is a learning process, starting with around 5 seconds for a flat white and closer to 10 seconds for a