Coffee cupping, made simple.
Coffee cupping is the evaluation of coffee beans post-roast. This is typically a professional solo practice; however, it is popular across many barista events internationally.
When the coffee has been harvested from the plant, Coffee Cupping splits the beans into categories during the filter process. This helps us differentiate beans that have a low-quality taste, and those carrying higher quality properties.
This takes place during a coffee bean's lifecycle in many parts of the world including our home city, London. There are more than 40 types of recorded coffee beans split into the two main varieties, Arabica and Robusta.
Cupping Equipment:
Your equipment will help you set the cupping scene. You will need:
- Cupping Spoons for mixing & crust removal
- Digital Cupping Kettle for boiling water
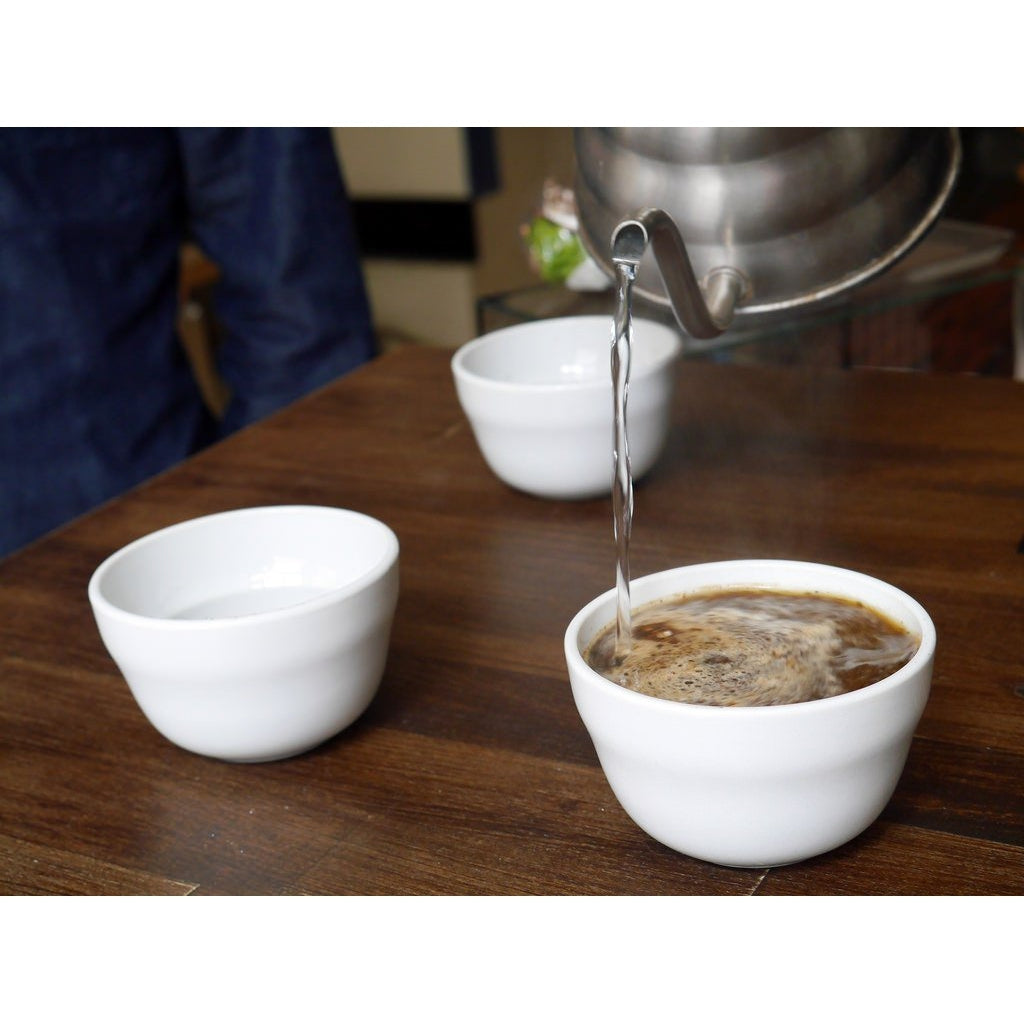
- Coffee Cupping Bowl for mixing samples
- Cupping Tray holding samples
Cupping Coffee Method:
Check to see if there is enough coffee cupping equipment for multiple tasting as you want to aim for at least 6 cupping bowls per coffee sample. Start your cupping with lightly roasted beans. Place each coffee sample in the cupping tray until half full, and allocate them with a number for when you come to take notes later.
Switch the kettle on and wait until it’s reached a full boil. If you’re using a stout spout variable kettle, it will be easier to pour quickly due to its open design. A gooseneck kettle is fine for this purpose too and offers better controlled pouring. Once you have poured water into each cupping bowl, let this sit to brew for two minutes. This is to make sure you don’t burn your taste buds, as it could affect your tasting.
You may start to see a layer of crust form across the top of the bowl. This is the layer of saturated coffee grounds that gather at the surface when cupping – some people believe it serves to trap all the individual properties a coffee bean might hold. Once the mixture has cooled, the crust can be scooped from the top of the cup using the cupping spoon or left to taste.
Environment
Making sure the cupping atmosphere meets certain criteria plays a big part in the professional world. Experienced cuppers suggest the room environment can affect your senses as well as your ability to taste and smell. To create a coffee cupping friendly environment, make sure:
- The area is well lit to put you in a positive mood and awaken your senses
- You are in a clean room with no interfering aromas
- Space is calm and people are relaxed
- You are in a comfortable temperature
Tasting:
Now you are ready to start tasting. Use coffee cupping to seek out desirable coffee properties and categorise beans based on your experience. Professional cupping should be taken with an experimental approach. You should harness your sense and aim your efforts toward finding these five things…
Dry & Wet aroma: Using your nose to inhale, smell the coffee before and after the water has been poured. This will let you determine if the beans are over-roasted – usually giving off a sharp, acrid-black scent.
Acidity: Using the side of our tongue, move the liquid around and focus on the acidity levels. If you want to find a more accurate reading, you can use a pH tester.
Defects: Spotting defects is probably the most strategized approach as it will give you a reason to either dismiss a pour of coffee altogether or distinguish between them in quality quicker. Any faults in the brew might show to be sour, rubbery or phenolic.
Body texture: Let the coffee lay in your mouth then roll off your tongue so you can notice how it feels. Is it light or heavy? Does it have a smooth, thin touch? Does it feel thick with a rough, stained texture?
Flavour: Finally, what are the core tastes? Are the strongest flavours sour, crisp, fresh, salty, sweet or maybe bitter? If you have come to a confident decision, now focus on the aftertaste. Are there any new flavours? How long do the flavours last? You might discover that the coffee leaves your mouth dry, or you may find it holds more moisture than most?


